Tablet Time

I’ll admit I was a reluctant learner when it came to using tablet computers in the classroom.  I didn’t see the point of a computer that had to be held and didn’t have a keyboard.  I know you can add a keyboard and a case that props up the tablet but then why not use a netbook? Recently I was asked to give an ASUS tablet a try in my 8th grade science class.  At first I played around with the tablet and wasn’t sure how it could be used.  Then I gave the tablet to the students and watched what they did.  It took a while but now I can describe a way to use a tablet in the classroom that goes beyond just using apps.

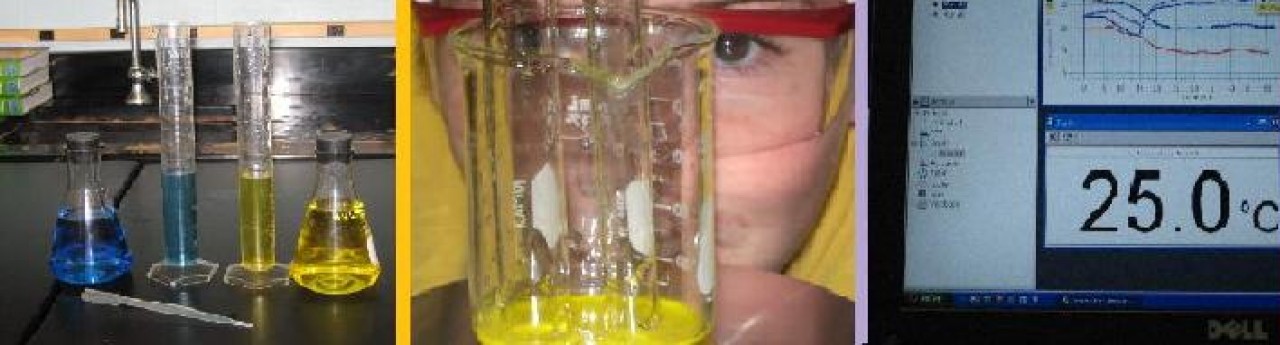
The tablet has it’s own student Google Apps account so I used that to make it a Picassa account where the students can send the pictures it takes.  During class I choose the lucky students that get to use the tablet and they take pictures of the class activities.  They use Skitch to annotate the pictures and send them to Picassa where they are immediately available to the other students on the laptops or netbooks.  If they take videos, the students upload them directly to our You Tube channel and then they can be embedded in their lab group wiki pages.

I  installed the Evernote app which the students can use to access their accounts.  Many of my students use Evernote to create their digital notebooks.   For social networking in class we use Edmodo.  The Edmodo app seems limited but they can use Edmodo right from the browser on the tablet.  They can also  log in to their Google Apps account from the browser to create and edit documents and presentations.

In addition to using Skitch to annotate pictures, it can be used as a white board.  Students can create graphics that are easily used in other programs.  They can make drawings to illustrate a lab procedure, for example, then easily upload the picture to their lab group wiki page.  When working on balancing equations, one student used Skitch to show her work.  That image can then be saved and added to her digital notebook.  Students have a choice of making their digital notebook as a Google Presentation, Google Doc, Microsoft Word document, or Evernote notebook.  The pictures from Skitch can be used in any of these.

We also use the tablet for study games on Quizlet.com and Quia.com where I have flashcard sets and quiz games that I have created over the years.  The students can use the browser to get to these sites for extra practice with our curriculum.

We’re off to a good start and the students love using the new tablet.  It is a tool that does many of the same things as a netbook but it is easier to work with movies and pictures and can also function as a whiteboard with the benefit of being able to keep the picture as a graphic.  It is a nice addition to our lab even though we only have one to use.  The students pass it around the room and it keeps their interest!


A New Learning Community

My colleague, Laura, and I have organized a new learning community at our school.  We want to help other teachers as they learn to integrate technology into their daily lessons and we also want to support each other as we try out new lessons using the student response systems we recently acquired.   We plan to meet twice per month.  For half an hour we will share things that we have tried in our classrooms and then for the other half hour we will help teachers as they try to find ways to adapt the techniques to their own lessons.  We have had one planning meeting and one meeting at which we focused on using SMART Notebook software.  We created a wiki, mmsti.wikispace.com, which stands for Milford Middle School Technology Integrators.  I stole that idea from the Keystone Technology Integrators, KTI, a group that got me started on the path of teaching and leading with technology.  We will post our meeting notes and ideas on the wiki as a resource bank for everyone to use after the meetings.  Would anyone be interested in joining our meetings via Skype or sharing in discussions on the wiki?  I could use the practice connecting and it would be a great way to make a small local community into a larger global community!  On Wednesday at 2:30 PM (EST) we will meet to teach some specifics about creating lessons with SMART Notebook software.

Integrating Technology – Jog the Web and the Element Social


How can you guide students to the best websites but still give them the freedom of doing their own independent research?  One tool that I find useful is called Jog The Web.  This tool allows me to point students to websites that I have chosen for our research.  I can write a description or a set of instructions for how to use each page.  The students can flip through the links then choose where to begin their research.  Another way to use this site is like a web quest.  Have the students complete a scavenger hunt by viewing the links in order.  The picture above is showing my Jog the Web page that the students use for their element research.

After conducting research, the students create a sandwich board poster that they wear at our “Element Social!”  They will walk the red carpet when they arrive and be interviewed (recorded with a Flip camera) about how they are helpful and/or harmful.  Then we take “class” and “family” portraits! They go into the photo booth (we use Photobooth on the mac) to take pictures with their compound buddies and then we vote for King Element and Queen Element.

Getting SMART about Lesson Planning!

My colleague, Laura, and I are finding more and more ways to use the Smart Notebook software in our lessons.  I use the Airliner Slate which allows me to use my projector screen like a Smart board but Laura actually has a Smart board in her room. The nice thing about working with Laura is that she encourages me to try new things and we help each other solve problems with implementing technology.  She inspired me to try using the Smart Response clickers in new ways, not just for playing games.  Today I used my Smart technology in three different ways and was really happy with the results!

First, I put my objectives on a page and masked them with a large, same-color rectangle.  The students moved a white rectangle around the screen in order to reveal the four objectives and find out what our lesson would be.

One of the objectives was to review the answers to a homework page in the workbooks.  After a student led the review, each student wrote a question of their own about the content.  I used the instant question button to create blank questions and the students took turns reading their questions aloud.  We used student response clickers to answer the questions and then viewed the pie chart showing all of the students’ answers.  This activity generated great discussions about our misconceptions!

Finally, many students needed help with an essay question from our last test.  I created two activities to help them learn to organize their essays.  In one activity, students had to order the steps of creating a Bohr model of the atom.  In the other, they had to use a graphic organizer table to sort a set of statements by dragging them into the correct position.  In order to get more students engaged in the activity I uploaded the SMART Notebook file on my wiki and posted the link to Smart Notebook Express, http://express.smarttech.com.  The students had to first download the file to their computer then open the file using Smart Notebook Express.  Now all of the kids could try the activities on their own and check their own answers.  While it takes some time to prepare a lesson using this technology, the payoff was a classroom filled with engaged students.   Here is the Smart Notebook file that the students used today: Practice.  Download the file and then open it using Smart Notebook Express to see what they students were doing.

Integrating Technology: bubbl.us

Integrating technology really depends on your access to tools.  How many computers will be available on a given day?  Do you have access to a projector or interactive white board?  Will the students have calculators to use?  How many digital cameras can be rounded up for the class to use?

If there aren’t enough computers for each student that isn’t a problem.  Students enjoy working together on creative projects.  When working in groups, however, the activities you plan should have several parts so that students can all participate.

Here is an example:  In this lesson, students will learn the chemical symbols by reading an article about helpful elements (the 25 essential elements) and harmful elements.  As they encounter the names of elements in their reading they will look up the chemical symbols.  The information from the article and the chemical symbols will be organized using a concept mapping tool called Bubbl.us on the Internet.  In this example, one student may read the article out loud, one uses the periodic table to find the chemical symbols, and one types in the bubbles on the bubbl.us website.  Students trade roles every 5-10 minutes.

The technology in this case is not the main focus of the activity but is used as a tool to help the group organize what they are learning as they read.  The students will enjoy interacting with each other, searching for the symbols, and creatively organizing their knowledge.

Students can create free accounts on bubbl.us and can print their beautiful mind maps to use as study guides or to display in the room.  The maps can also be embedded on a wiki or can be exported as a jpeg file.