Science in a Teacup?

This summer I’ve been reading “Storm in a Teacup: The Physics of Everyday Life” by Helen Czerski. I love it so much! In the book, Helen describes everyday situations that we all have experienced and shows us how to view them through the lens of science. It opens our perspective and as she says, turns the world into a “playground!” Here is a reading from the first page. It is actually p. 3 in the book (not p.1) but it is the first paragraph.


The Start of Something Great

How much thought do you put into the beginning of your lessons?  Dr. Judy Willis teaches that in order for students to learn, information must pass through several filters that are easily closed by common classroom circumstances.  For example, when we begin class with an activity that students find stressful, like a difficult warm-up problem or a quiz, their minds can become closed.  Instead of processing and analyzing new information, the students will respond to the situation with a flight/fright/freeze reaction.  We can help new information pass through the brain’s filters by first engaging a student’s curiosity and then limiting the stress in the classroom environment.   Beginning class with a funny video, music, pictures, a story, or a review game can set the tone for learning by capturing the attention of your students and then helping them to feel relaxed and safe, the preconditions for processing new information effectively.

Some days, I feel the pressure of having to accomplish too many things in too short a time.  I find myself beginning class by rushing students to settle down and getting started quickly with activities that might put my students under some stress right from the start.  After watching a video by Judy Willis I was reminded of the brain based strategies that increase student motivation and success in the classroom.  Today I began with a SMART board activity that introduced the activities in a fun way.  Using SMART notebook software gets students involved in running the lesson and keeps the lesson on track so I can cover the material more effectively.  The initial preparation of the lesson leads to a more relaxed lesson for me and subsequently for the students.  I also included a cartoon that related to the lesson and we used a game to reinforce some of the concepts.  By remembering to keep the stress low I am hoping that students will be better able to learn the concepts.  Tomorrow I am giving a test.  Will it help my students if we begin class with a short, entertaining video clip?  If students are more relaxed before the test will they be able to think more clearly as they work?  I’m not sure if anything can turn a test into a stress free experience, but if it helps students, I’m willing to give it a try!

Alternative Lesson on Alternative Energy

This week I am trying a new way to teach my lesson on alternative energy.  In the past I had the students work with partners to research different energy resources.  They read articles, took notes, and made a presentation to share with the class.  After reviewing my notes from the H.E.A.T. workshop I attended last year, I decided to take a chance on a different kind of lesson.  This time the students are choosing the focus of their learning as well as the project they want to complete.  We began today with a poll question.  Using Edmodo.com students chose which of four problems was our greatest problem resulting from our use of energy.  We discussed some of the problems such as our dependence on foreign oil, acid rain, and climate change.  We then brainstormed ways an eighth grader could help make a difference.  Some talked about contacting legislators or helping to inform others about the issues.  Students wanted to make commercials or start a blog.  Others wanted to stage a protest or teach others how to conserve energy.   

While I need to be sure that the students learn the pros and cons of using different energy resources, I also want them to be engaged in the lesson and form a personal connection to the issues.  In addition to their reading I plan to show short video clips and use the response clickers to begin and end each class during the lesson.  I will try to help the students find ways to incorporate the content into their projects and use formative assessment to be sure they are getting the information they need. 

Before I began the lesson today I was very worried that I didn’t have a worksheet or a clear plan for where this was all going.  It felt very risky to run a lesson like this.  The enthusiasm and creativity that the students demonstrated, however, gave me confidence as we progressed through the poll, the brainstorming, and the group planning.  Each group of students will have a different learning experience but it seems as if they are already taking control of their learning and are eager to make a difference in the world.


Letting Technology Teach and the Teacher Build Connections

This week I am working on differentiation in my science classes.  The classes are getting larger and there are more needs to be met.  I think technology can be part of the solution.  My main goal is to have all of the students reach proficiency on some basic learning targets such as using the lab equipment correctly and writing detailed observations and inferences.  Some students need extra help with these targets but others are ready to move ahead.  What I tried is listing various activities on the board for students to do in any order and at their own pace.  Two of the activities involved remediating the learning targets that some students haven’t yet met.  Students who are proficient could choose from the other activities. 

Once activity was to watch a short video on a laptop computer.  The students watched and made notes in small groups or individually.  Other students worked on some critical thinking questions that applied what they had learned in the previous lesson.   Another group made measurements in the lab and recorded their data on a website called Edit Grid.  They got feedback from looking at the data entered by other students and could see if they were on the right track.  I worked with small groups who needed extra help with the learning targets, gave them a quick assessment, then allowed them to move on to the other activities. 

Most of the students were engaged and moved from one activity to another but some seemed distracted.  It wasn’t a perfect fix but I was able to help students who needed the one-on-one help while letting the others learn new skills independently.  With all of the great websites and videos available, I think I can shift my role from one of providing content to one of helping kids form connections to what they are learning.  With Edit Grid I was able to go back and see how the students did with their measurements without having to walk around and look in every lab notebook. 

I would love to have feedback about this lesson and see what others are trying as far as differentiating with large classes!  Please feel free to leave a comment!

They did it their way.

HydrogenPart of my lesson plan today involved some basic note-taking. I had a nice template to use with Smart Notebook but my plans were just too teacher centered. I knew the students would be disinterested and might tune out the activity completely.

With a few computers available I was able to shift gears and offer the students some choices that transformed the lesson quickly. First, we played a vocabulary game from Quia.com.  The students enjoy playing games and they are more ready to learn after a little fun.  Next we did a few quiz-type questions on the SMART Notebook activity from the SMART Exchange to get them thinking about the topic.  But when it came to the new vocabulary, where I would normally give them the notes they need, I offered the students a choice.

They could make a poster to show the vocabulary words, create a section on their group wiki page, make a Microsoft Publisher poster, make a Microsoft Word document, or use the available media anyway they liked in order to display the new vocabulary in a memorable way.  Given only 20 minutes the students created many types of projects.  They went one step further and added their own drawings, home-made graphics, and pictures from the Internet.  They checked their understanding with students in other groups and they found additional information to supplement what their text books provided.  The students were active and that means they were ready to learn!

Watching a Movie? Not what it sounds like!

Computer
Showing a movie in class used to be a way to fill time, calm kids down, or maybe an easy lesson to leave the substitute teacher. Today I had fun letting the students have very different learning experiences while…watching a movie!

Before starting the movie a student asked me if we could use Cover It Live to take notes while we watched the movie. In three minutes I was able to launch a live event and get them set up. Another student asked if she could use our Livescribe Pulse Pen to record notes and audio. Sure, why not? Another student decided to just type her notes on a Microsoft Word document. She added some pictures and used colorful headings. There were still 4 students who preferred writing their notes in their lab notebooks. Using the Interwrite Mobi slate it was easy to pause the movie for discussion as it streamed from Discovery Education and could even draw and add notes directly on the screen. When the movie was finished, I uploaded the Word document, the Pulse Pen pencasts, and the Cover It Live notes on our class wiki page.

What is changed when technology is incorporated into a typical lesson?  Do the students learn more?  Can the difference be quantified?  These are the questions that we have to face in order to build a case for technology.  We are asked to prove that the students do better when using technology.  I don’t collect data, but I do make many observations.  The students are happy to have a choice.  They are engaged in the class activities.  They are practicing their communication skills.   And they are proud to show me what they create using technology.  That is enough proof for me!

Energy Resources Project

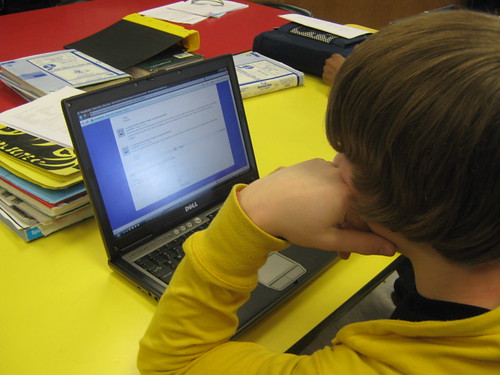
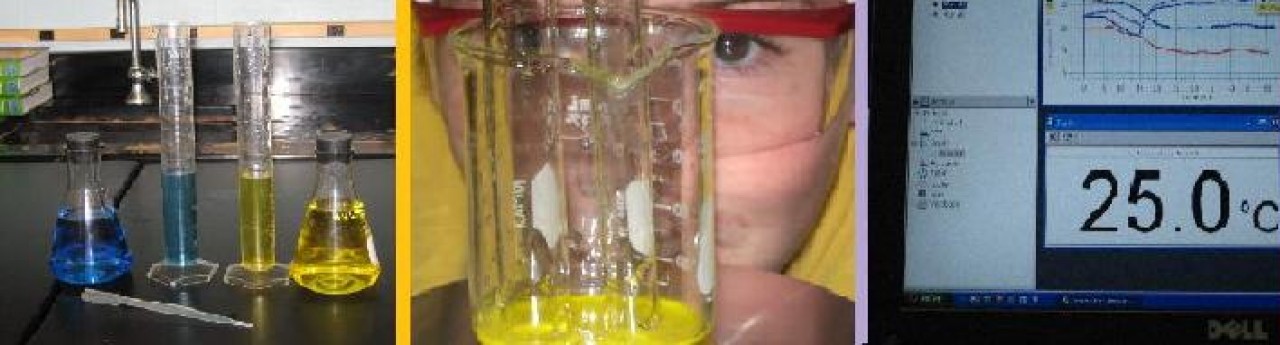
Last week we worked on our energy resources research project. The students each researched a specific energy resource to share with the rest of the class. We found many great web sites to help with the research but many of them were confusing to navigate. What should the reader do when they finish reading the main section? Is there a “next page” link at the bottom, tabs across the top, a menu at the side, or links throughout the article that take you to other pages of information? The books from our library were very good but I wondered if the students were skimming to the point of not really getting much information. Reading is such an important part of becoming an independent learner but it takes a lot of practice! There are many reading strategies that can be used to help students grasp the concepts in science texts and articles like accessing prior knowledge, asking questions, predicting, and taking “talk back” notes. During a research project, however, the students are all reading different articles so it is difficult to guide them.

In our project students read three articles and organized their notes around “big ideas” that they came across as they read. They then shared their notes on a Google Doc (one shared account for the whole class) in which students with the same topics shared one document. Next, each student created a digital diagram to explain how their energy resource worked. Some used Paint, some chose Picnik, and others drew their pictures on paper and then took a digital picture with a camera. They uploaded these images to their Google Docs. Finally, students created Flip videos and online quizzes (testmoz.com) and embedded these on the Google Doc as well. I had planned to have them create Power Point presentations but their Google Docs worked just as well! Pictures, organized notes, and embedded video and quizzes. I put several of the projects on a Glog and posted all of them on our class wiki.

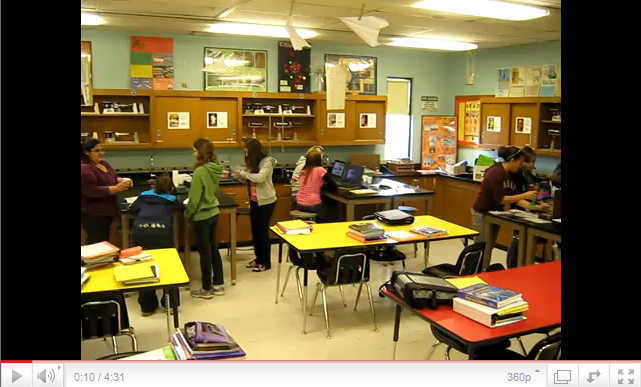
The use of technology in this project helped the students stay involved and motivated. They took more responsibility as they had to really collaborate on their Google Docs and were eager to share what they had learned from their research. Creating the diagrams forced them to apply what they were learning and the videos and quizzes helped them summarize their important findings.

Integrating Technology

Science_Class_Video
Today I’d like to simply share my class with you.  The kids were all working so well that I grabbed a camera and tried to capture the atmosphere of creativity and discovery.  They are using Pasco temperature sensors, Data Studio software, Wikispaces, Power Point, KidzZone Graphing, and Evernote as tools while they design their own experiments to study heat transfer.

Sparks

p3g3
Sometimes I look at my students’ faces and I see that they need a little spark to get back into the lesson. That’s when I turn to technology on the spot! For example, having a student become a scribe by typing notes directly onto our class wiki page can arouse the interest of everyone in the room. When the class can see their words projected on the screen, being typed as they speak them, everyone becomes more interested in volunteering their ideas. I also like to have each of my classes create different projects, post their work on the wiki, and then share their contributions with the other classes. The students enjoy getting a sneak peek into the other classes and like to see what they have been up to. Other sparks I like to use are the digital cameras. While students work I choose one student to walk around and interview them using the video setting on our camera. Sometimes they just snap a few pictures which I upload to flickr and post them on the wiki the next day. Students who see themselves as contributers and leaders in the class become the sparks that light up everyone else in the room!

Collaboration Goals

IMG_1098
As the year begins I’m looking forward to collaborations with other teachers in my district and in other districts.  Along with a colleague, I have begun two collaborative groups at my school.  One is the Milford Technology Integrators.  Here we will be looking at ways to incorporate technology into our daily class routines, replacing activities we already do with technology enhanced activities that allow for more differentiation and engagement  The other group is Element Educators, a group in which we will read Ken Robinson’s book, The Element, and find ways to use technology to make our book talk a web 2.0 experience.  I would like to invite other teachers to join us!  Please let me know if you are interested and we can find ways to share.

My second effort involves collaborating with other science teachers in classrooms across the globe as we attempt to learn ways to get students working together and sharing their science projects.  In the past I have worked with Britt Gow in Australia to run an online science fair and now we will be doing a project called the International Paper Airplane Challenge.  Students will test their ideas on making the best paper airplane using the scientific method and they will share their results by sharing with other students from schools in New York, Lima, and Victoria.

And finally, we will continue collaborating in my classroom.  Students in each of my three science classes will be sharing their work with the students in my other classes using our Team8blue2010 wiki. The students have already begun by posting some podcasts on our server as well.  We would love some feedback through comments here or on the podcast site.

Collaboration is sure to be a learning experience for me this year!  I hope to pass on what I learn on this blog and through my Professional Learning Network!